Not connected, Your IP: 95.81.96.125
 Online: 43293 users - 523408 Mbit/s total BW
Using AirVPN with "Eddie Android edition"
1. Install
Install Eddie - OpenVPN GUI for Android
from Google Play Store or directly download the APK from our Eddie web site.
Source code available on Gitlab (view source)


from Google Play Store or directly download the APK from our Eddie web site.
Source code available on Gitlab (view source)
It's also available for Amazon Devices on Amazon Appstore

When installed Tap on Eddie application to open it
If you download the APK you can check its integrity:
$ sha256 EddieAndroid-4.0.1-VC39.apk
SHA256 (EddieAndroid-4.0.1-VC39.apk.sha256) = 3912f559177bd10ac08b49411e5f201d5417b27eb0164c50b85dbcac1aaea5f3
Installation requirements
- Android 5.1 or later version and AirVPN account (Create account)
- How to side load Eddie in Fire OS and Android TV: Android TV / Fire OS
Main features
- Free and open source WireGuard, OpenVPN and AmneziaWG GUI
- Full WireGuard support
- Full Amnezia WireGuard 2.0 support, including Amnezia's CPS
- 34 ready to use CPS/QUIC Amnezia WireGuard presets
- Full OpenVPN CHACHA20-POLY1305, AES-GCM-128 and AES-GCM-256 support
- Free and open source application based on WireGuard version f333402, Amnezia WireGuard Version v0.2.15 and OpenVPN3-AirVPN version 3.12 (20260206)
- Battery-conscious application
- Optional GPS spoofing
- Low RAM footprint
- Settings for comfortable user interface in system, night and day modes
- Ergonomic and friendly interface
- Full compatibility with Android 5.1 and up (phone, tablet and TV)
- Full integration with AirVPN and ability to import profiles to connect to other VPN services
- Full Android TV compatibility including D-Pad support. Mouse emulation is not required.
- Ability to start and connect the application at device boot
- Option to define which apps must have traffic inside or outside the VPN tunnel through white and black list
- Enhanced security thanks to locally stored encrypted data through optional master password
- Quick one-tap connection and smart, fully automated server selection
- Smart server selection with custom settings
- Manual server selection
- Smart attempts to bypass OpenVPN blocks featuring protocol and server fail-over
- Enhancements aimed to increase accessibility and comfort to visually impaired persons
- AirVPN servers sorting options
- Customizable "Favorite", "Forbidden" and "Default" servers
- WireGuard and OpenVPN mimetype support to import profiles from external applications
- VPN profiles can be exported both to internal database and external file or app
- Localization in simplified and traditional Chinese, Danish, Dutch, English, French, German, Italian, Portuguese, Russian, Spanish and Turkish.
2. Quick connect
1
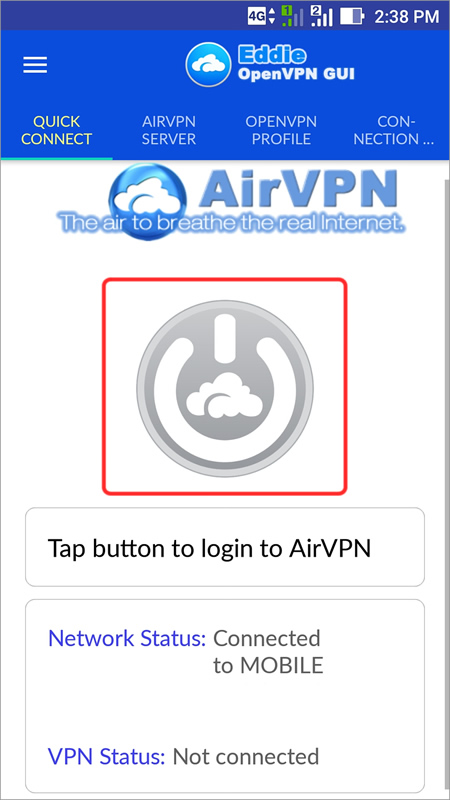
From the "Quick Connect" menu, tap large button to log in to AirVPN with your account. If you don't' have an account you can create one Create an account
2
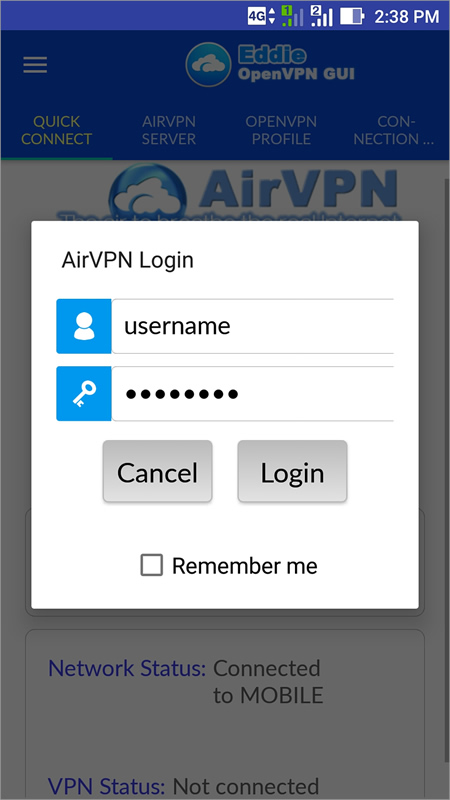
Enter your AirVPN credentials. If you check "Remember me" the credentials are saved for next time. Credentials are stored encrypted by master password.
3
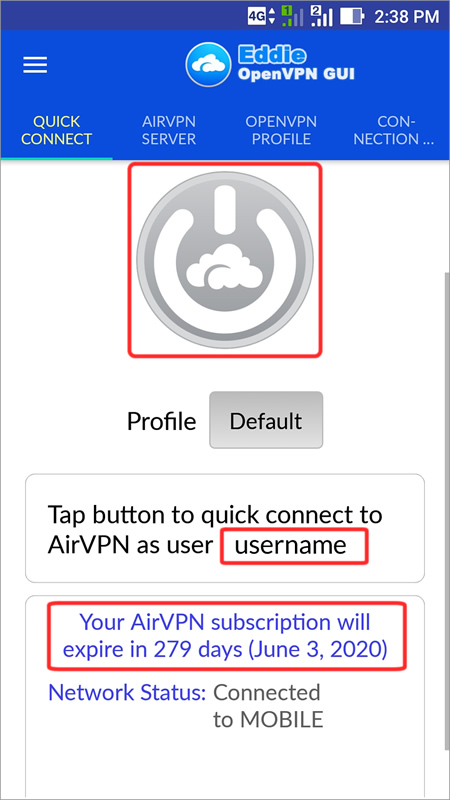
Now you are logged in to AirVPN with your account and you can "Quick Connect" to a server by tapping on large button
4
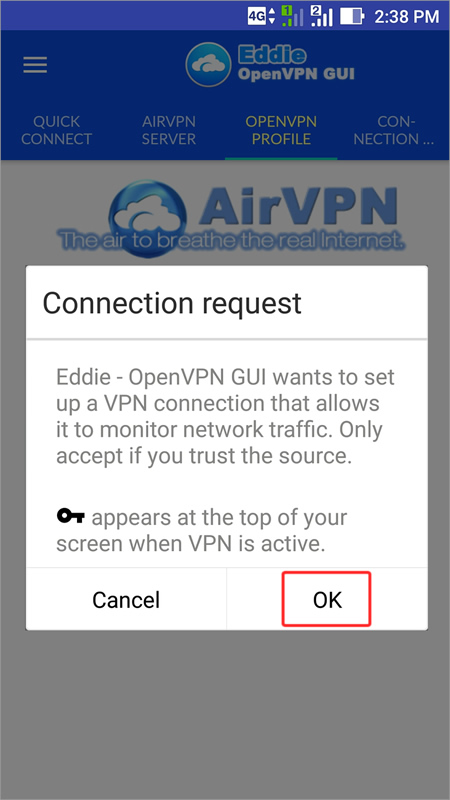
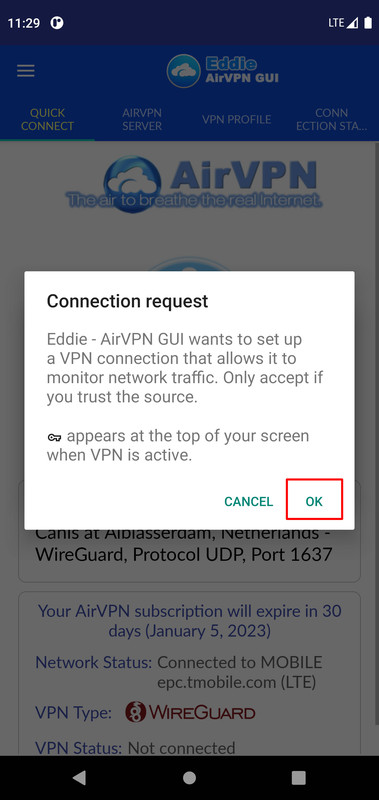
Default Android warning messages for "VPN connections", click OK to accept connection request
5
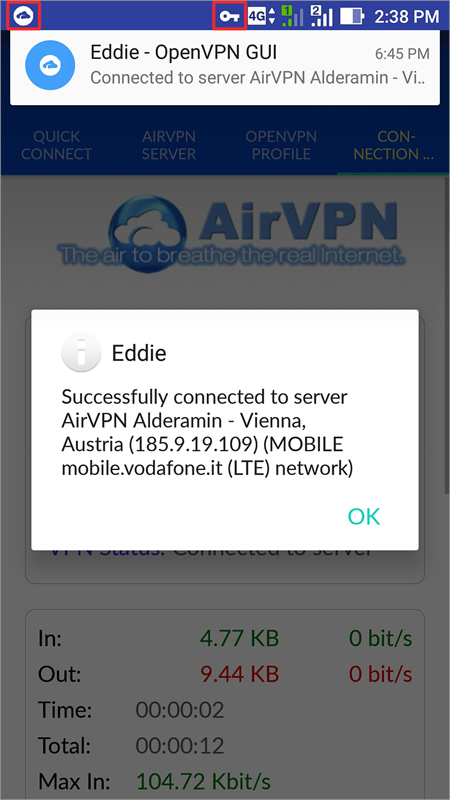
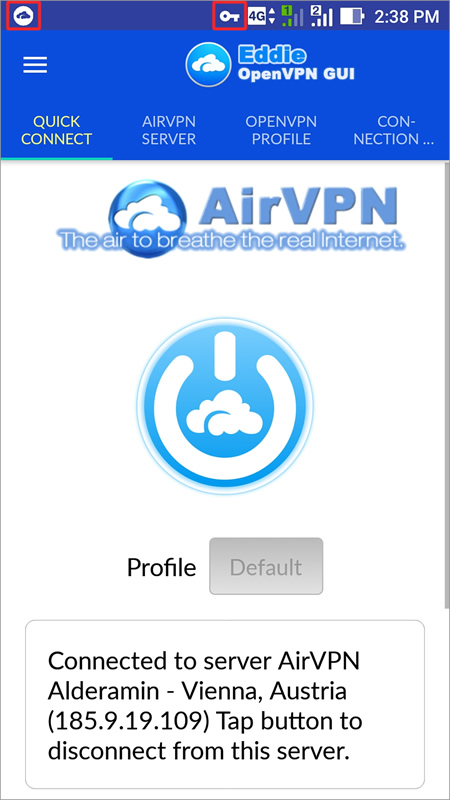
Now you are connected to AirVPN server. The application determines the best servers for
your device through various parameters. If you wish to select the servers order (favorites, forbidden) or
connect to a specific server see "AirVPN Server" tab (Chapter 3)
6
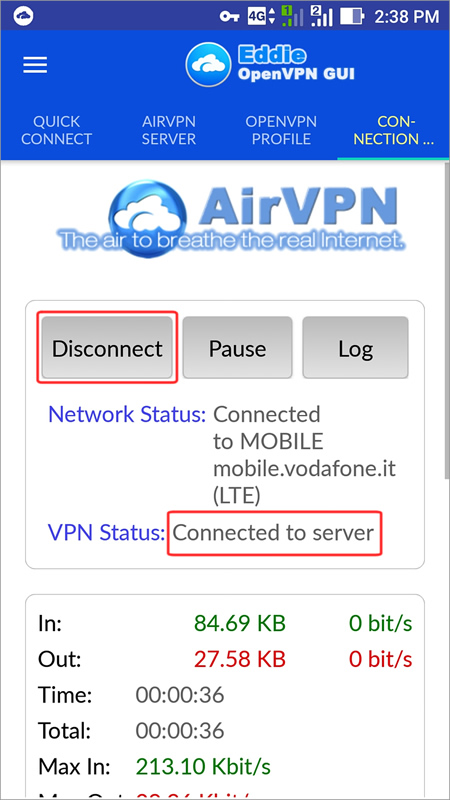
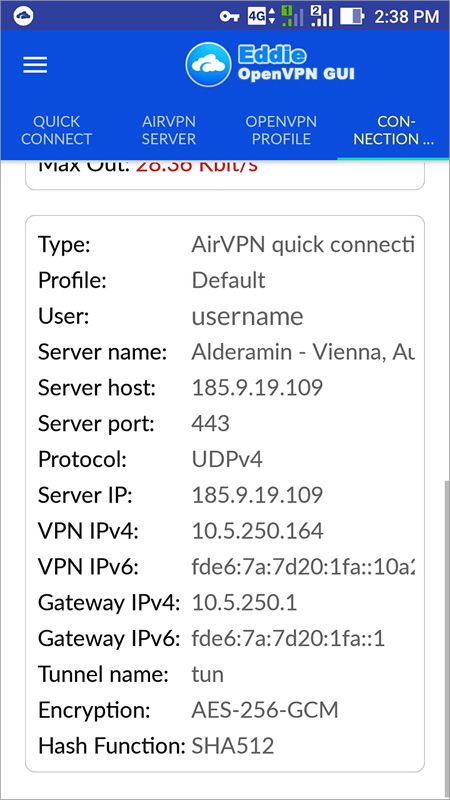
In "connection" tab you see details and statistic for connections, you can also
Disconnect / Pause / Log
3. AirVPN Server
1
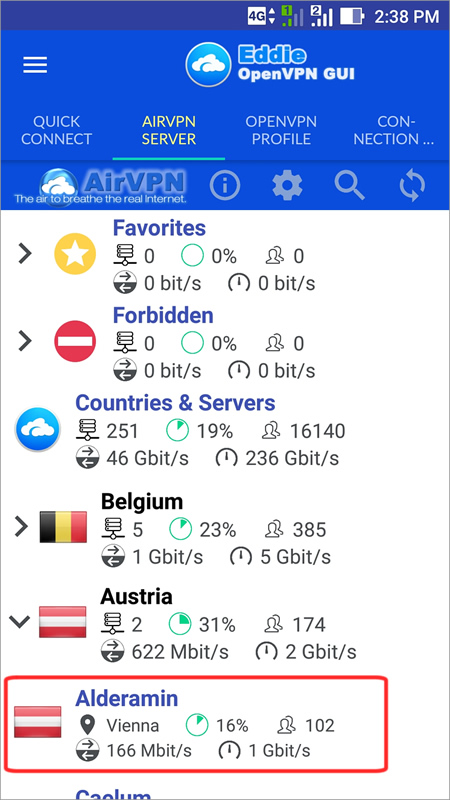
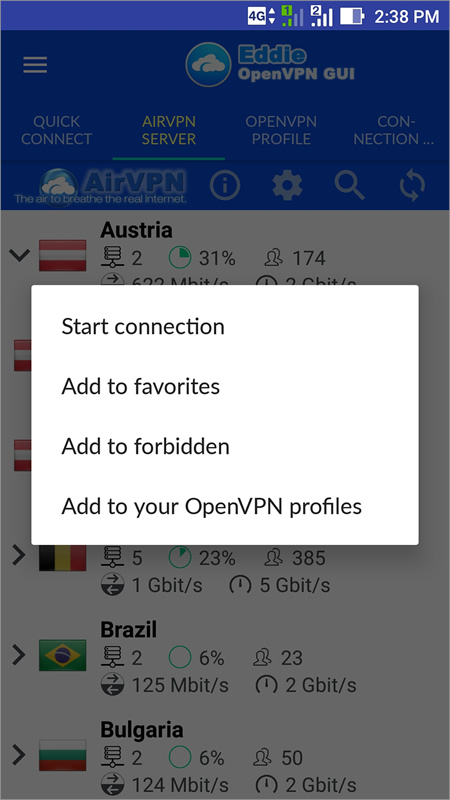
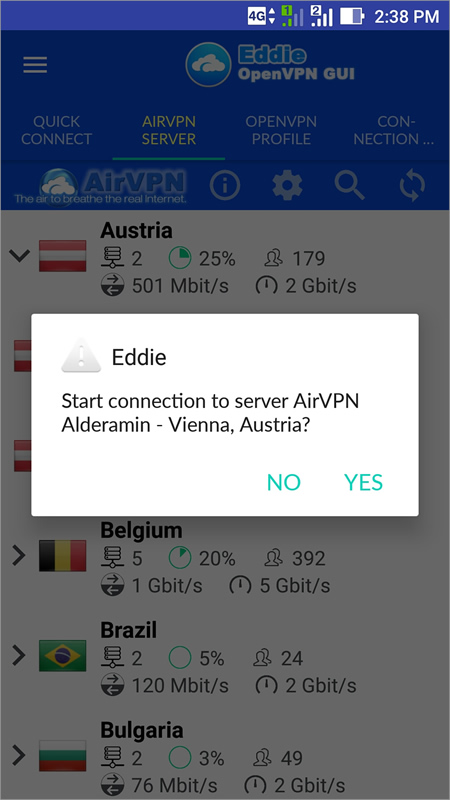
In "AirVPN Server" tab you have an overview of all servers grouped by Region, Favorites,
Forbidden, with detailed statistics. To connect to a particular server simply Tap on server
or Long Tap to display a contextual menu with various entries (Start
connection, Add to favorites, Add to forbidden, Add
to your OpenVPN profiles (see Chapter 5) to Main menu to change settings and options of the application
2
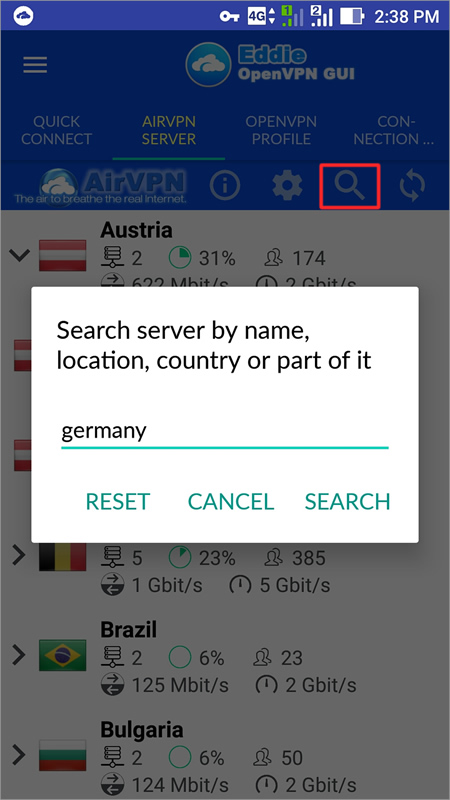
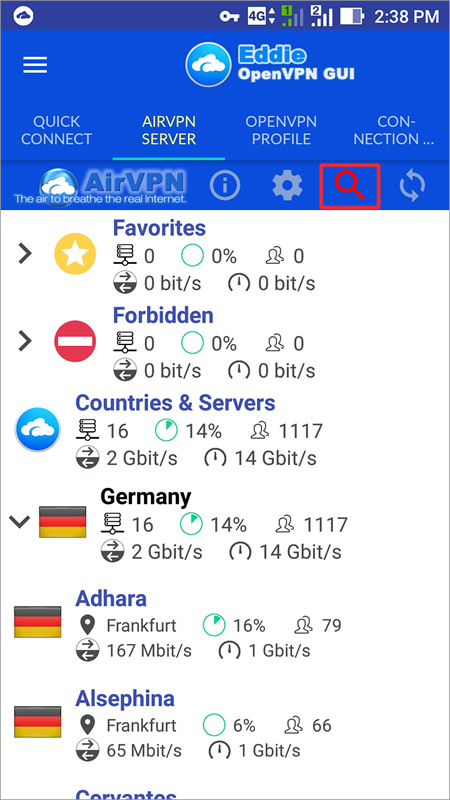
Search functions: to filter the servers list. When the search filter is
active the icon remains red.
3
Server Settings: to change default parameters and sort servers
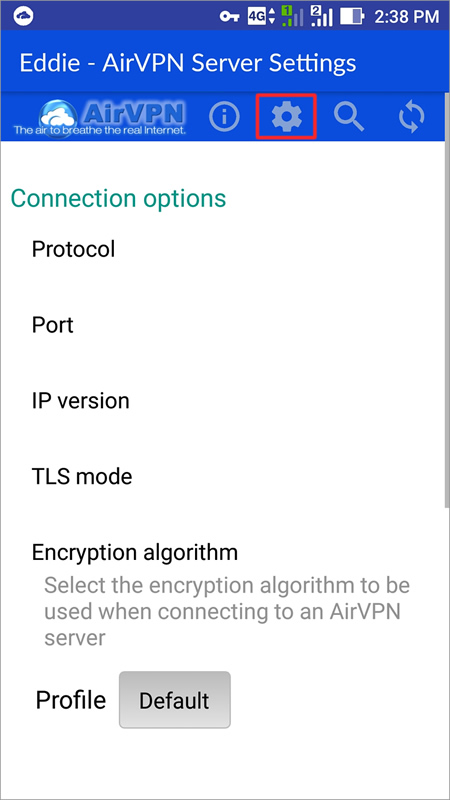
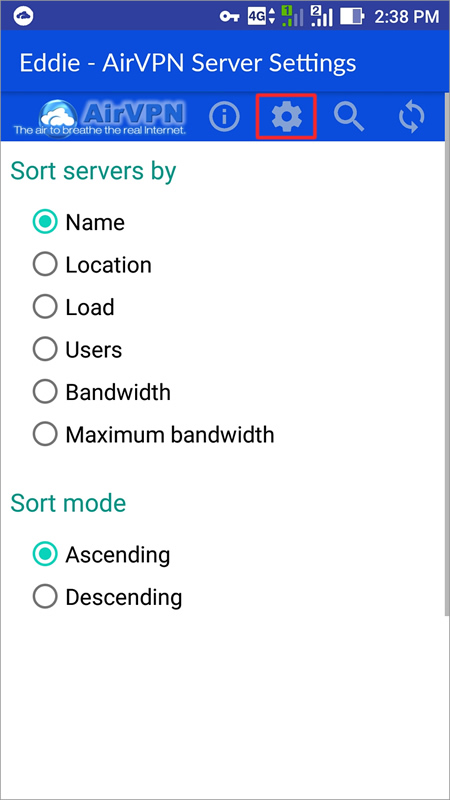
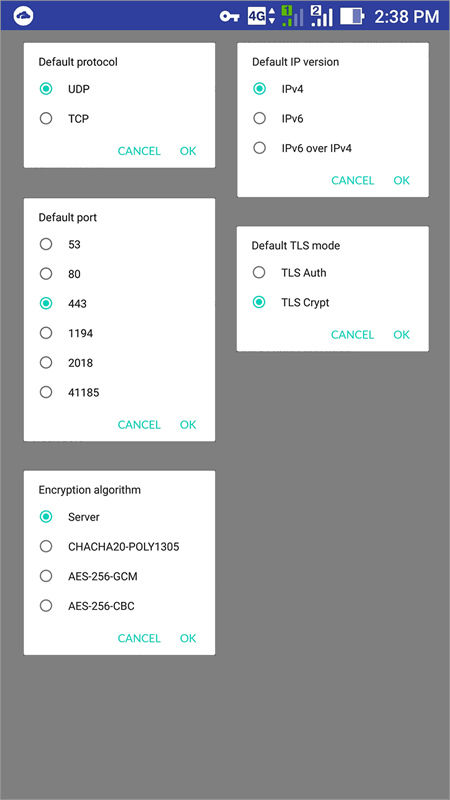
4. Main menu
1
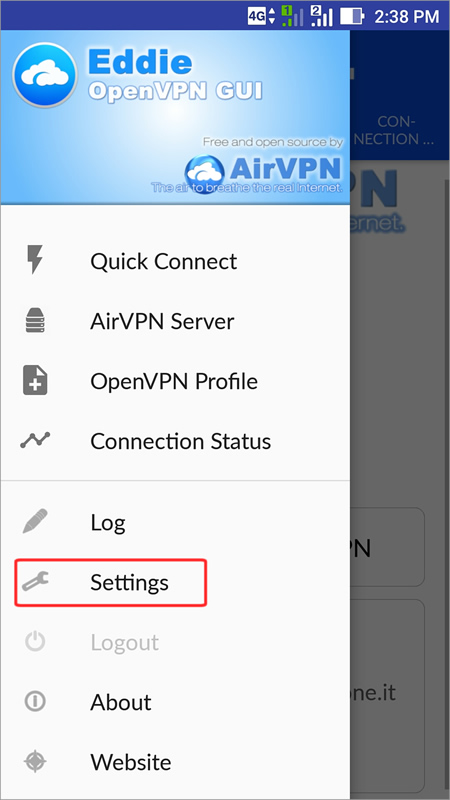
Go to Main menu to change settings and options of the application
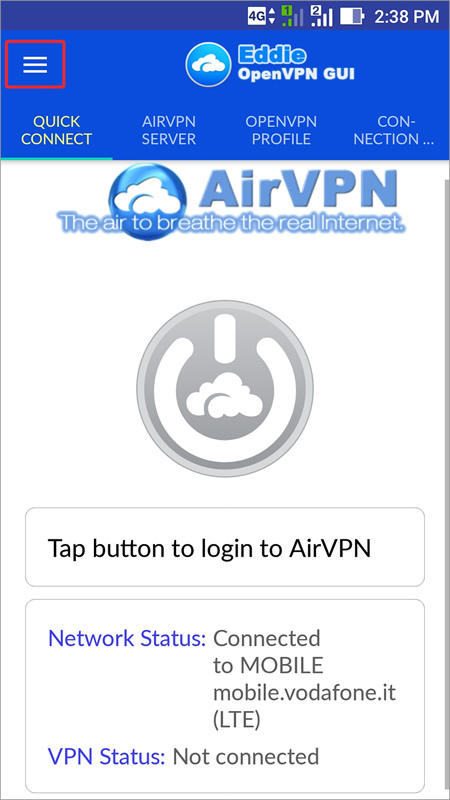
2
Settings
3
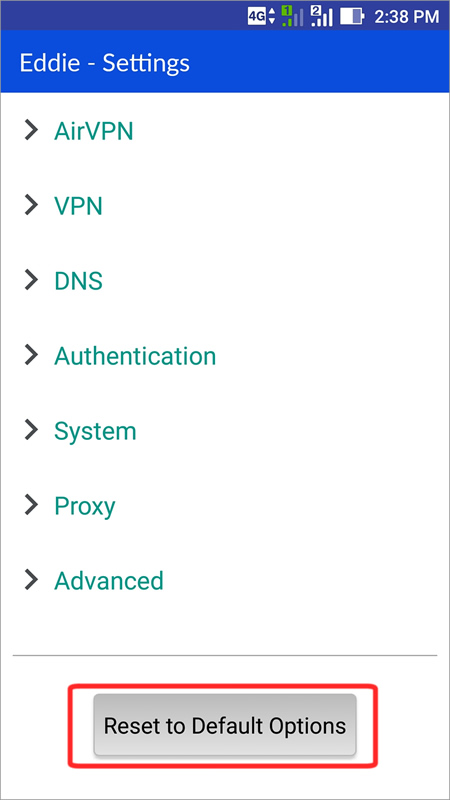
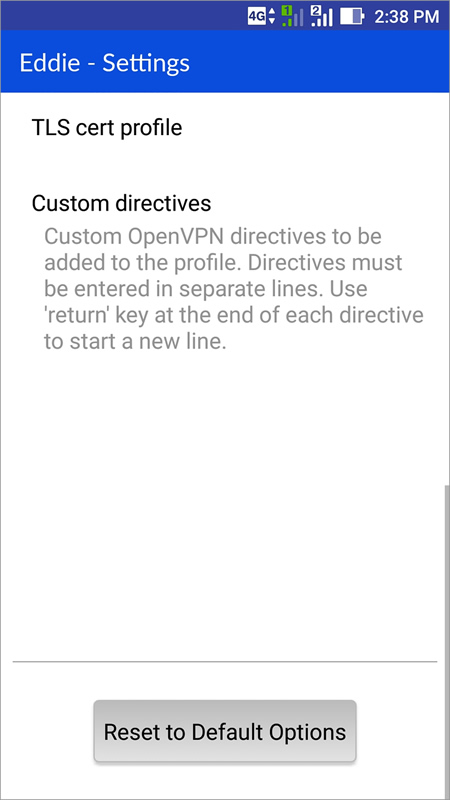
Reset to Default options: tap on button to reset all the settings to default values
4
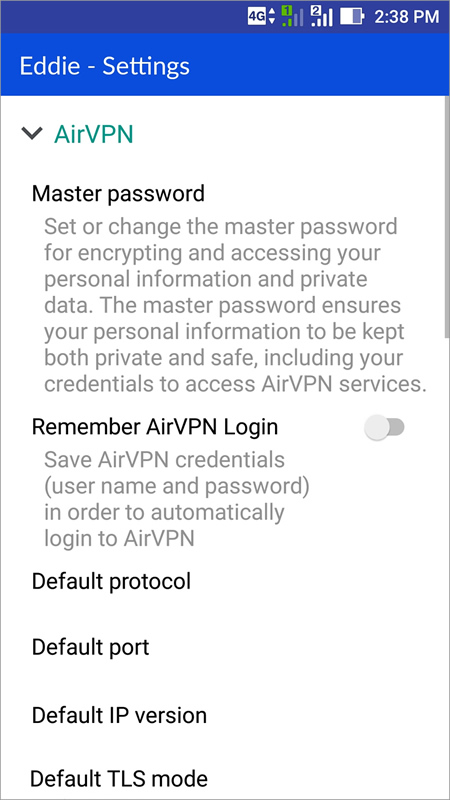
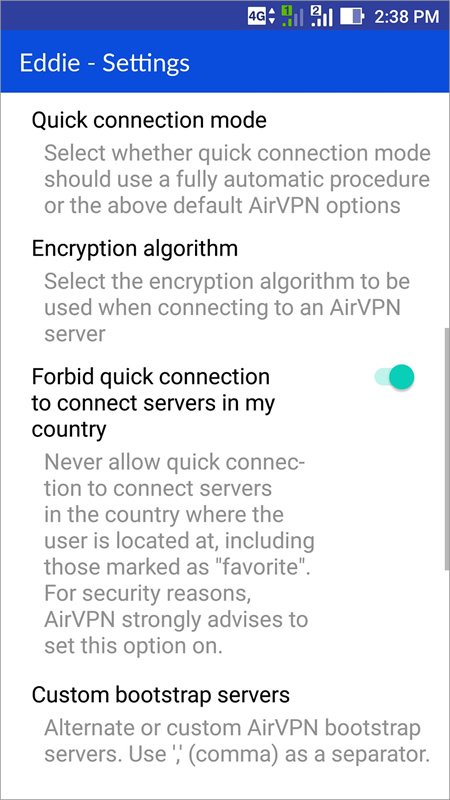
AirVPN section specific parameters
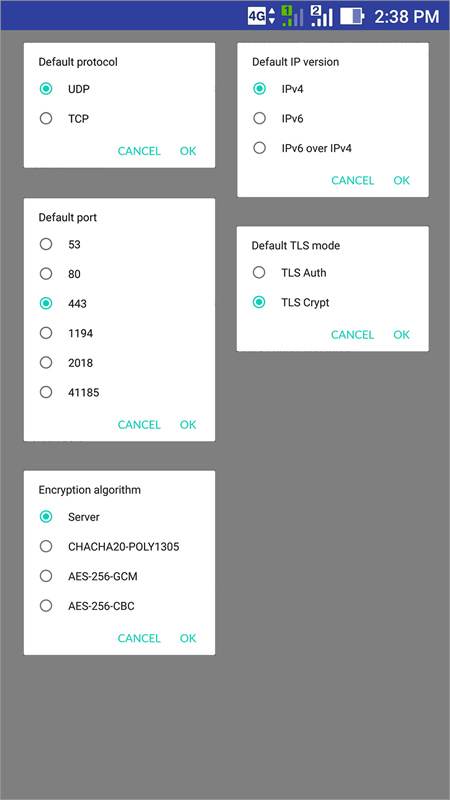
5
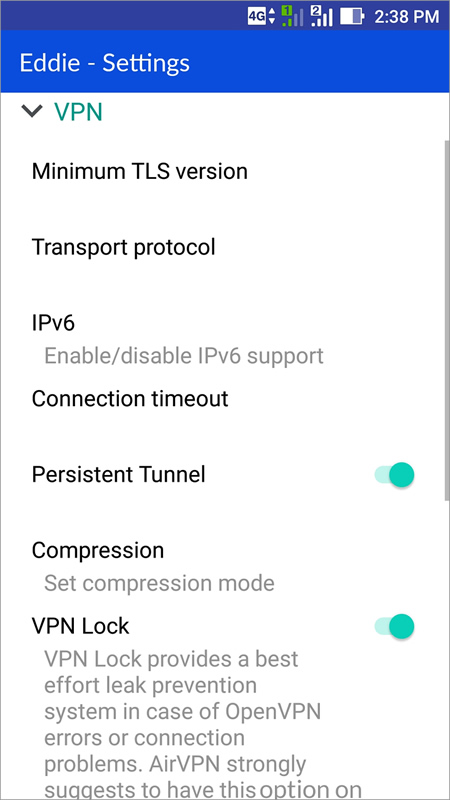
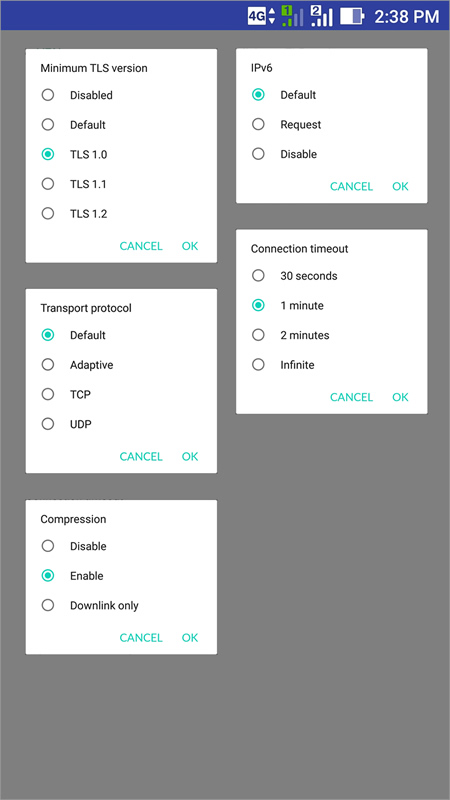
VPN section
6
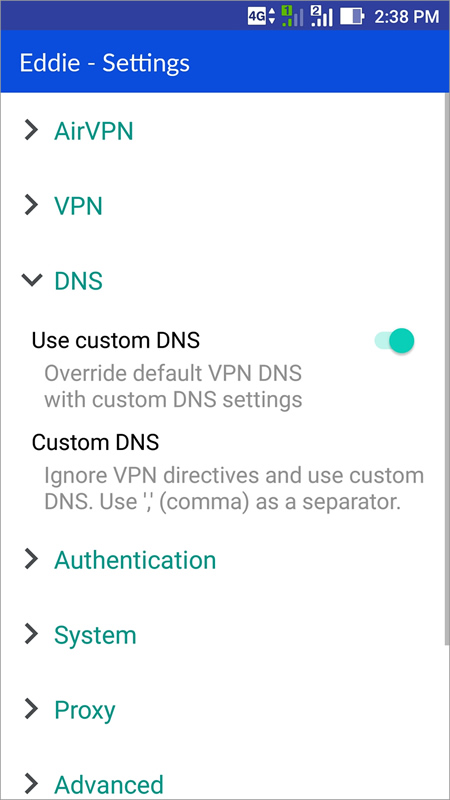
DNS section
7
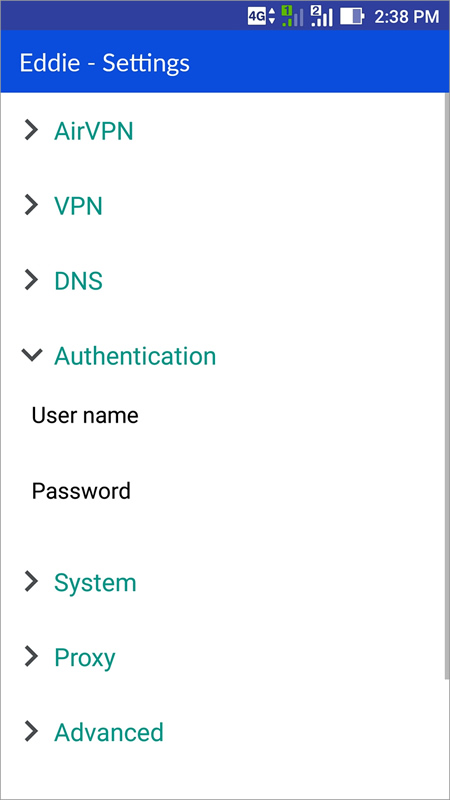
Authentication section: if you import an OpenVPN profile (see Chapter 5) that requires Credentials
8
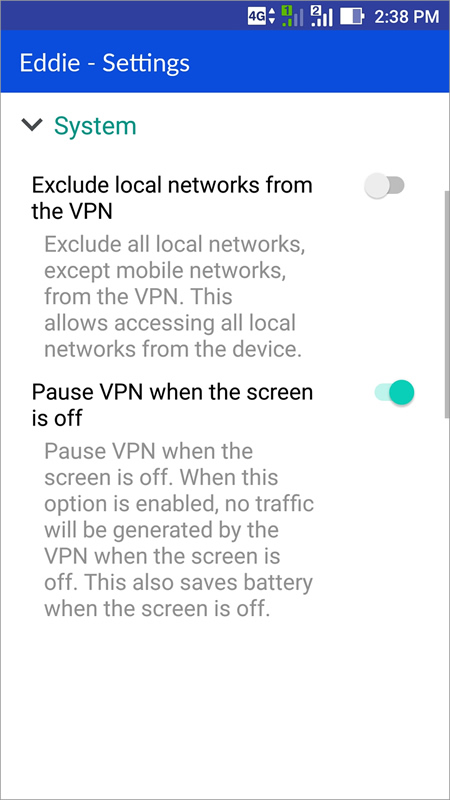
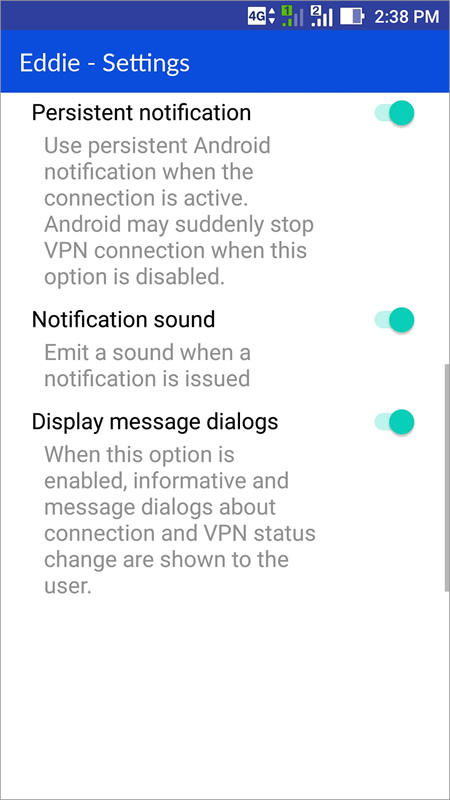
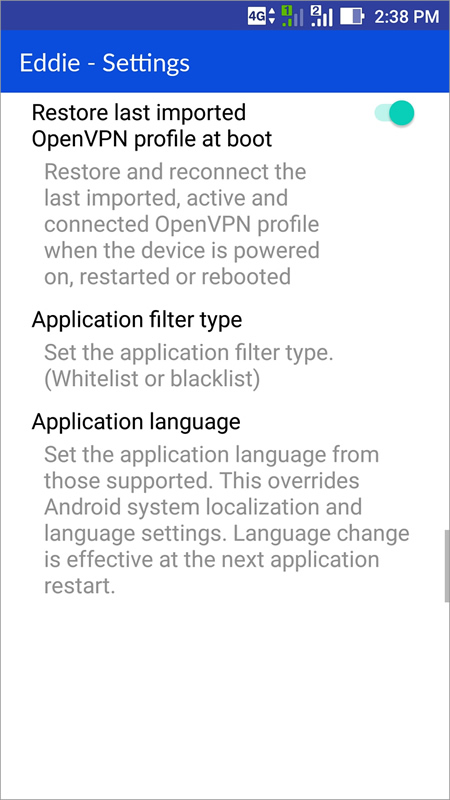
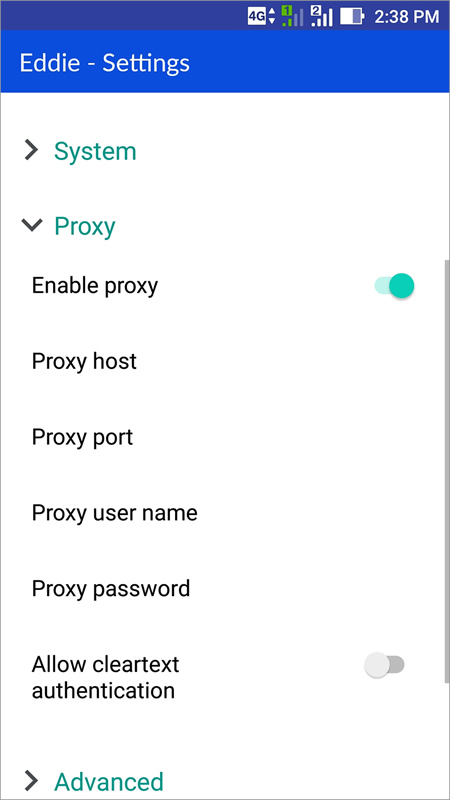
System section
9
Proxy section
10
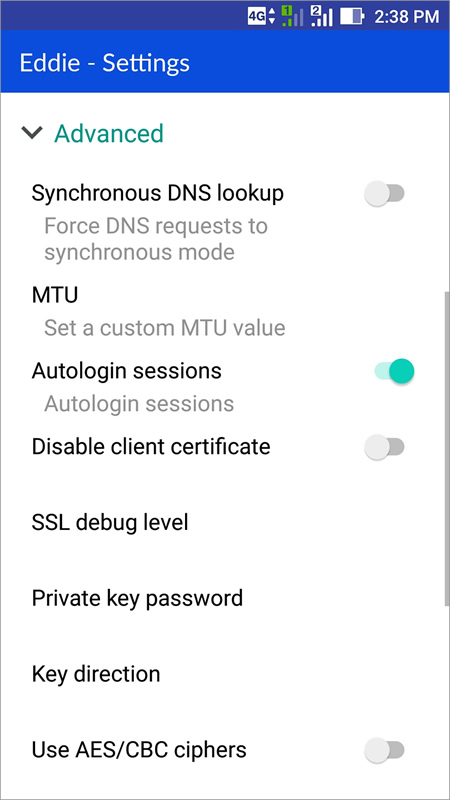
Advanced section
11
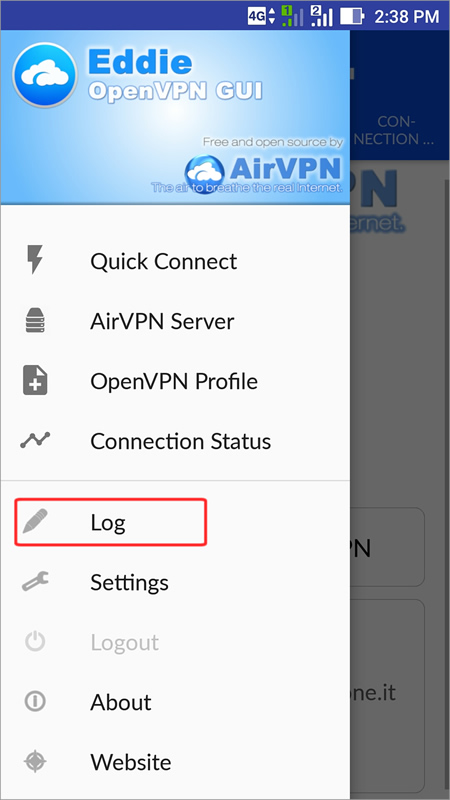
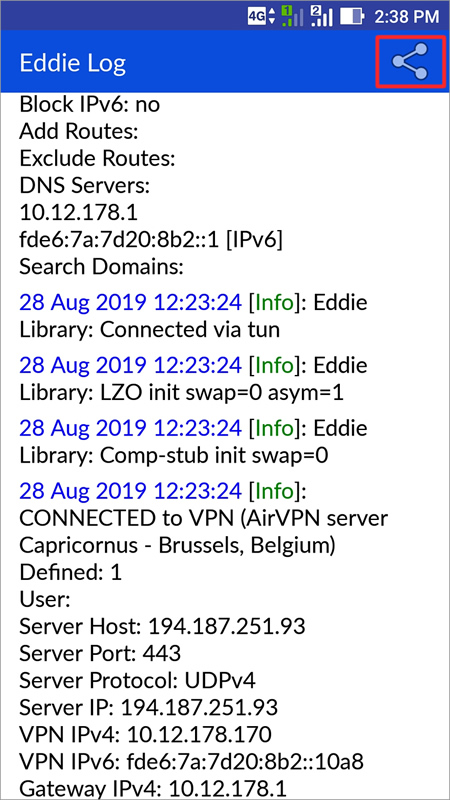
Log for access to application log click on Log on main menu or Log button on "connection info" tab
12
You have access to activity log for info and troubleshooting. You can also share the log via share icon
5. OpenVPN profile
Generate a profile from inside the app from "AirVPN server" tab, but you also have the ability to import *.ovpn profile to connect to other VPN services
Generate profile with web Config Generator:
- Launch your Internet browser.
- NOTE: don't use the default Android browser because it has an unresolved bug.
- Chrome and Opera have been tested by us and work.
- Connect to AirVPN website, login and create the configuration files from our Config Generator.
- Choose Android as platform (only direct TCP and UDP connections are supported) and finally click the "Generate" button to download it.
- Downloaded .ovpn files may be imported directly into the application but the behavior depends on many factors (employed browser, files manager, Android version, etc). For simplicity's sake, we assume in this guide that you saved .ovpn generated files under the internal storage directory in the Android file system
Import profile:
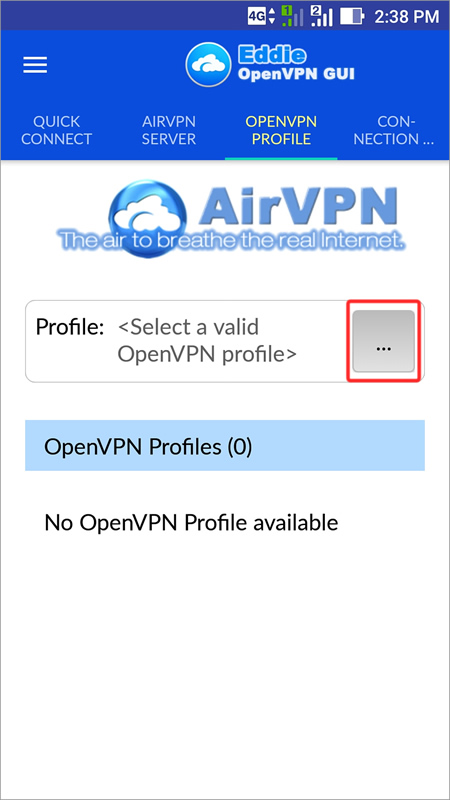
1
Tap the "Import profile" button:
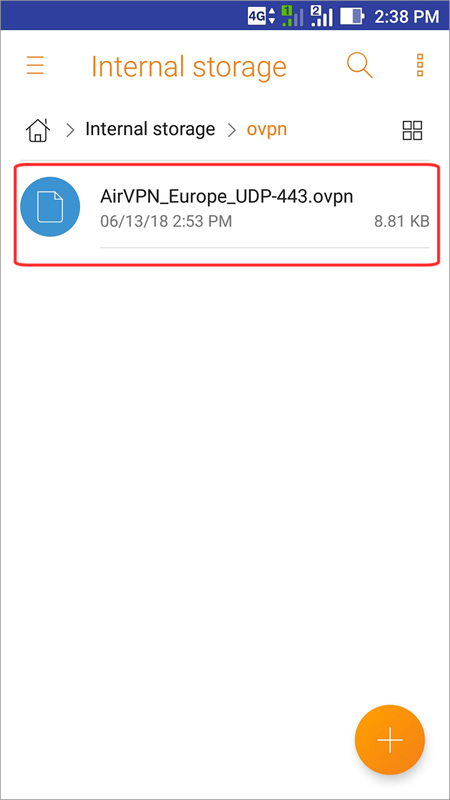
2
Browse *.ovpn files:
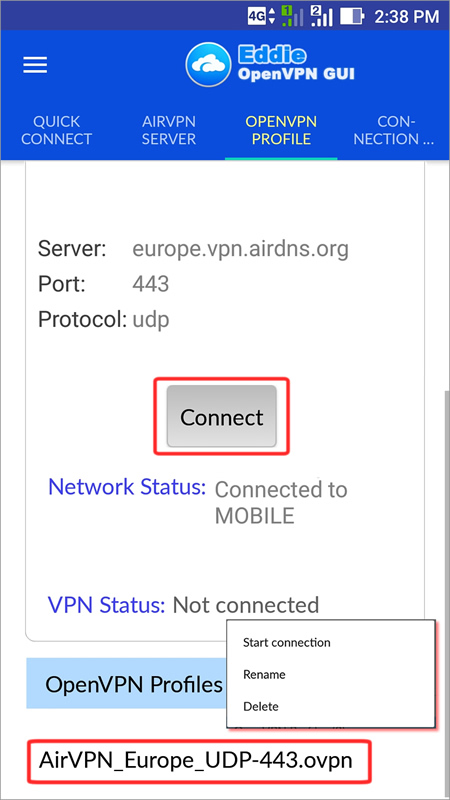
3
Tap the "Connect" button or long tap to profile entry to
"Start connection, Rename or Delete profile"
4
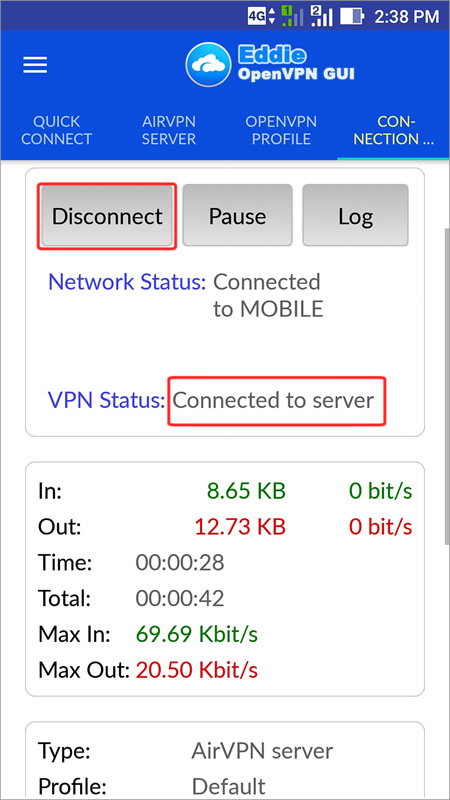
Eddie is now connected and the VPN tunnel is now established, When you need to disconnect from the VPN click on the "Disconnect" button
6. Always on VPN
How to enable "Always on VPN" on you device to enforce leaks prevention and allow automatic connection during the boostrap on Android 8 and higher versions:1
Make sure you have run and connected Eddie at least once
2
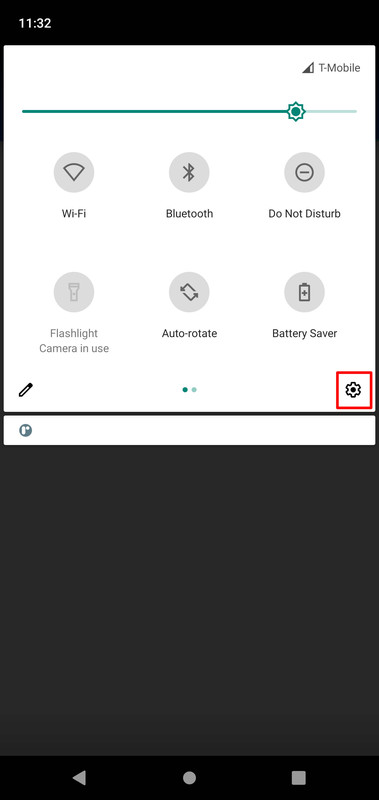
Open device settings on your Android device.
3
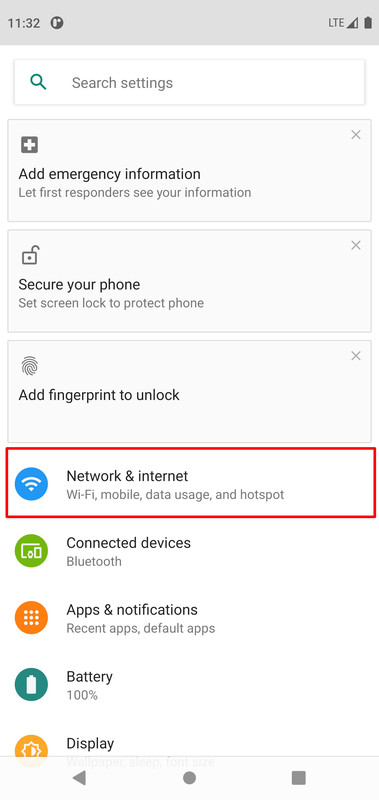
Select Connections.
4
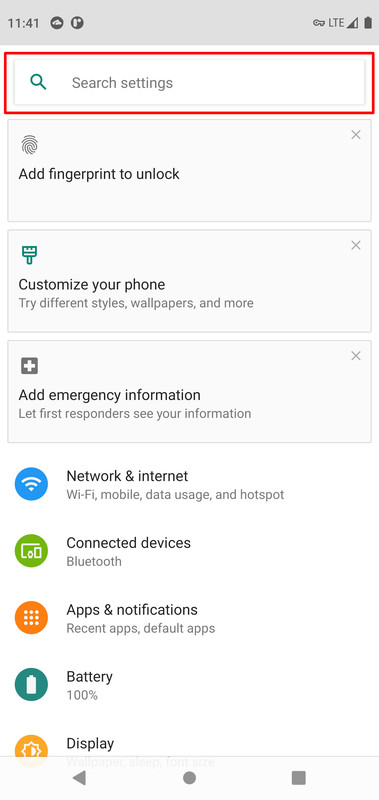
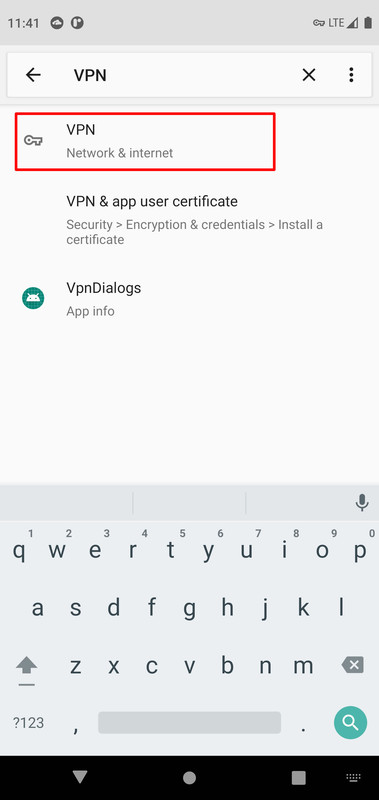
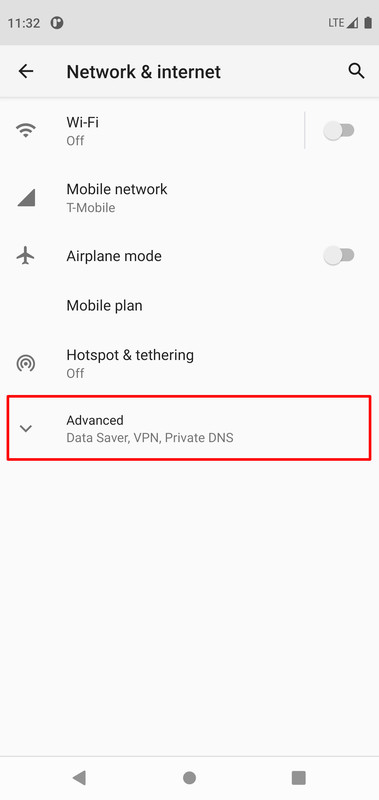
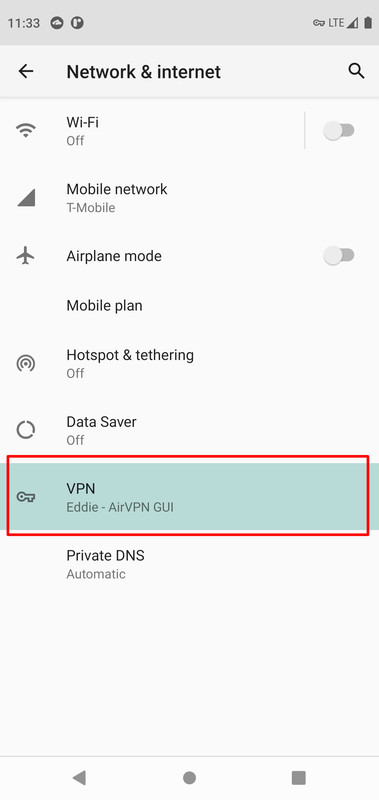
Select More Connection Settings. (If you can't find these settings, type VPN in the settings search bar.)
5
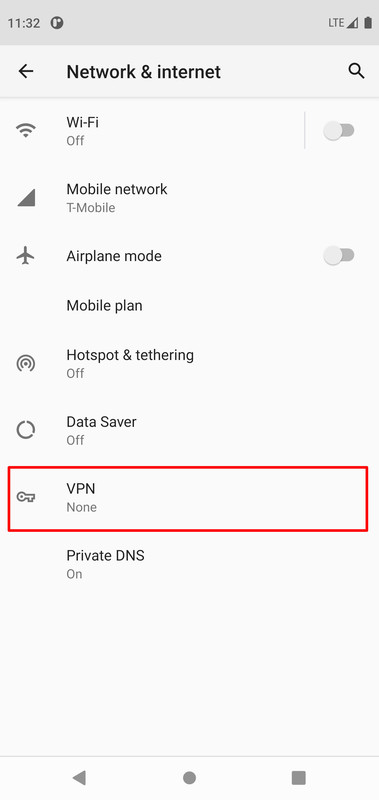
Select VPN.
6
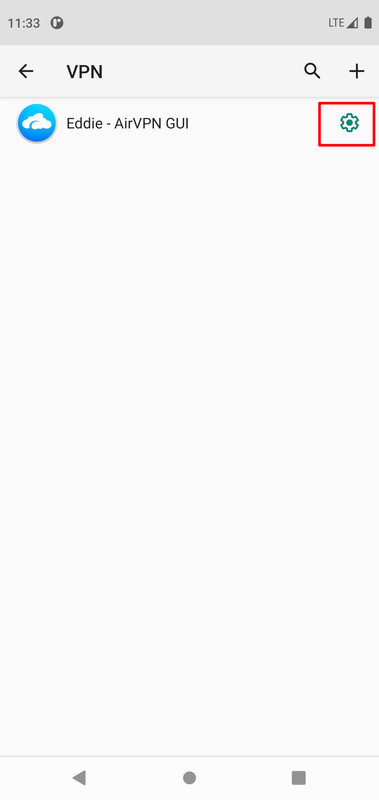
Select the gear icon next to Eddie.
7
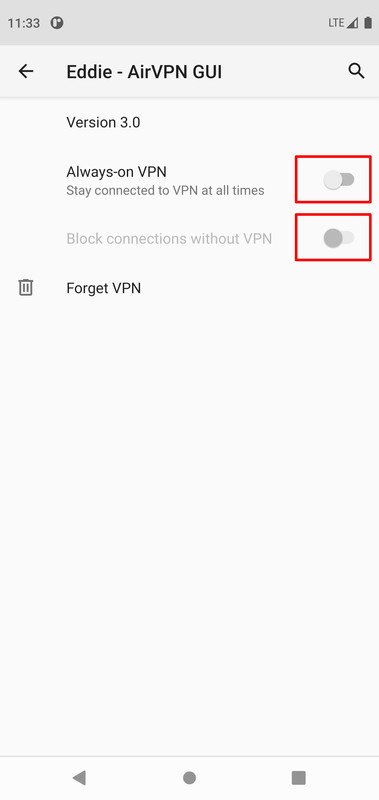
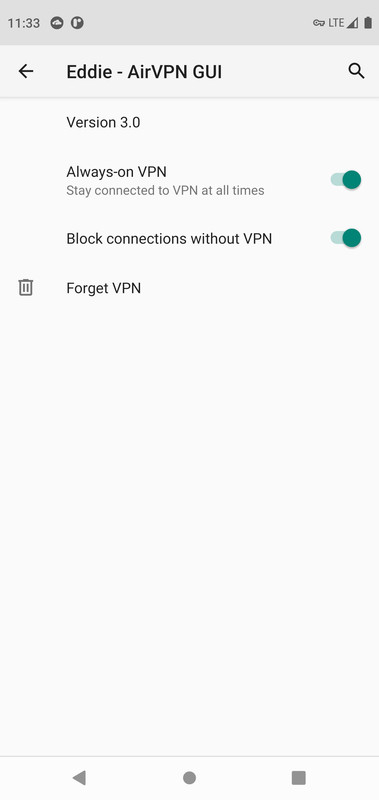
Enable "Always on VPN"
Enable "Block connections without VPN" to have stronger leaks protection
Enable "Block connections without VPN" to have stronger leaks protection
7. Connect during device boot
How to enable Eddie to start and connect during device bootstrap or restart ("Always on VPN" required on Android 8 and higher versions)
1
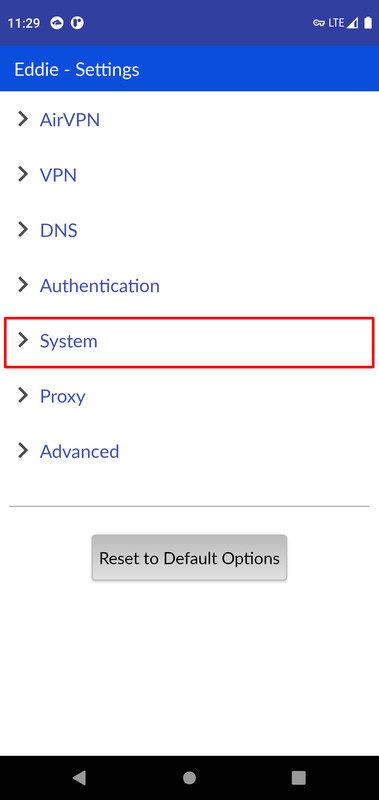
Go to Settings - System
2
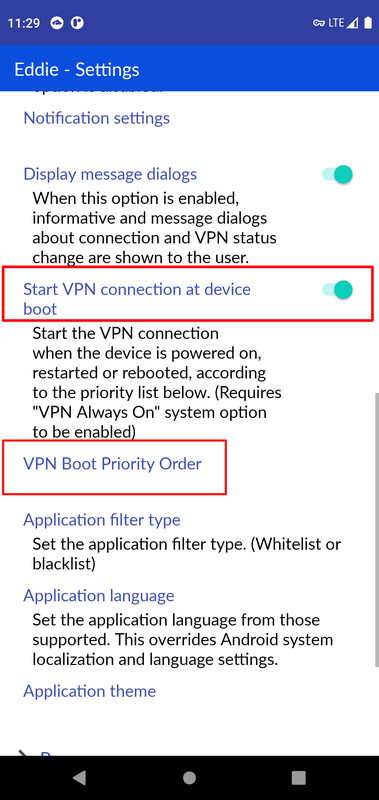
Enable "Start VPN connection at device boot"
3
Select "VPN Boot Priority Order"